TempPro TP49 Digital Hygrometer Indoor Thermometer Humidity Meter Room Thermometer with Temperature and Humidity Monitor Mini Hygrometer Outdoor Thermometer (Previously ThermoPro) — How to Use & Practical Guide

What this fixes for you
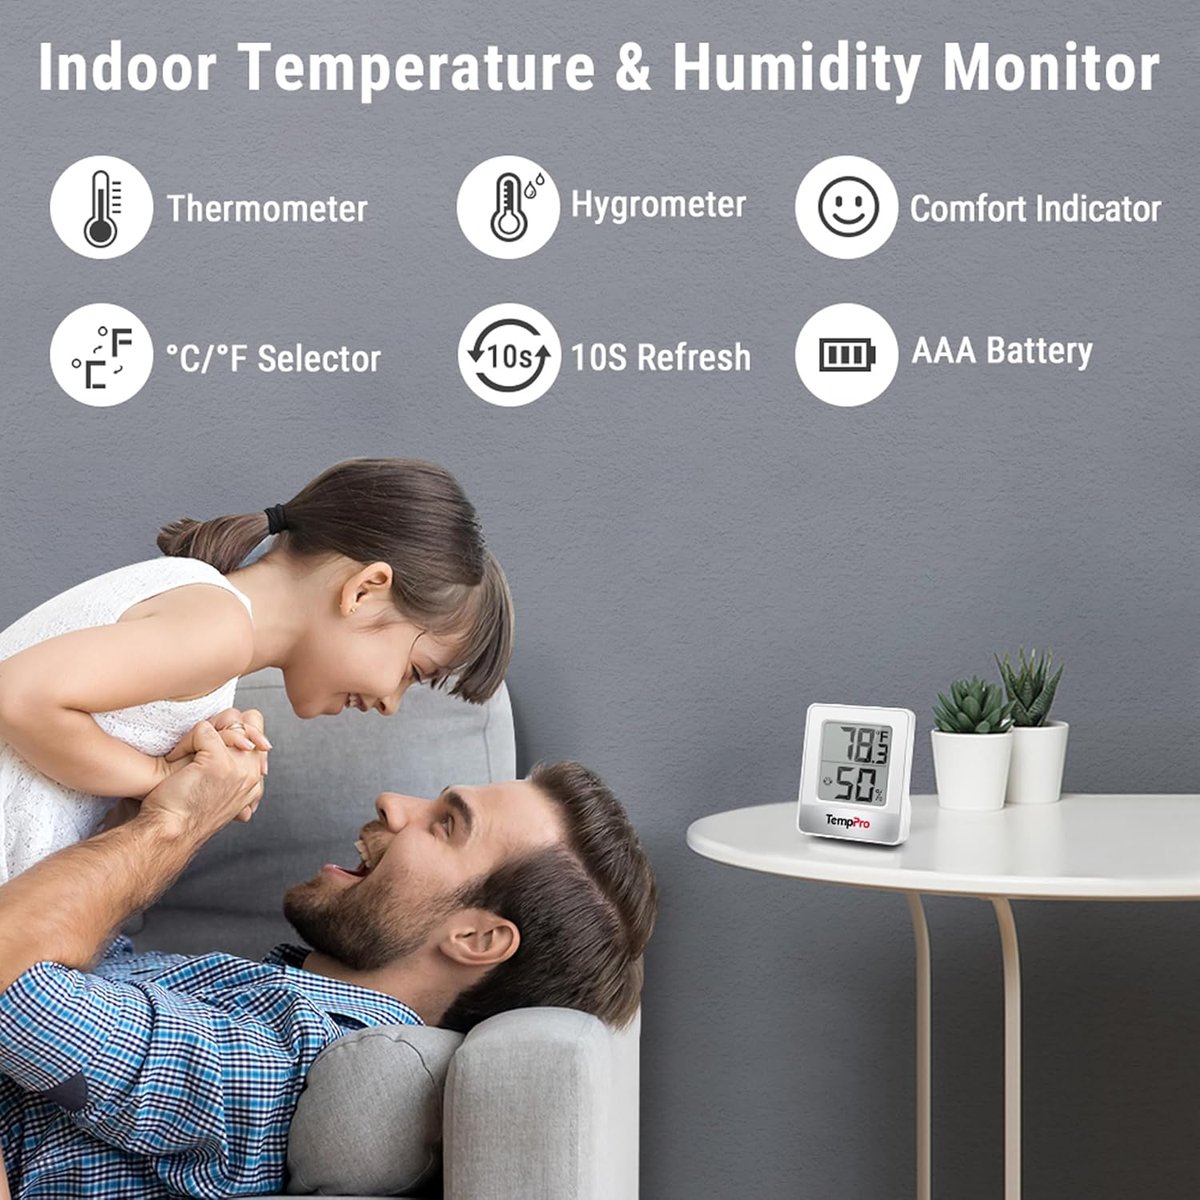
Whether you're storing cement bags in the shed, monitoring a workshop where timber or MDF could warp, or just trying to keep the office comfortable enough to concentrate, guessing at humidity and temperature costs you. Too much moisture means rusted tools, swollen materials, and potential mould issues. Too dry and timber cracks, static builds up around electronics, and paint cures unpredictably. The TempPro TP49 gives you an instant, at-a-glance reading of both temperature and relative humidity so you can make decisions based on data rather than gut feel — all for around twelve bucks.
Before first use
- Remove packaging — Pull off any plastic screen protector and discard the cardboard insert behind the unit.
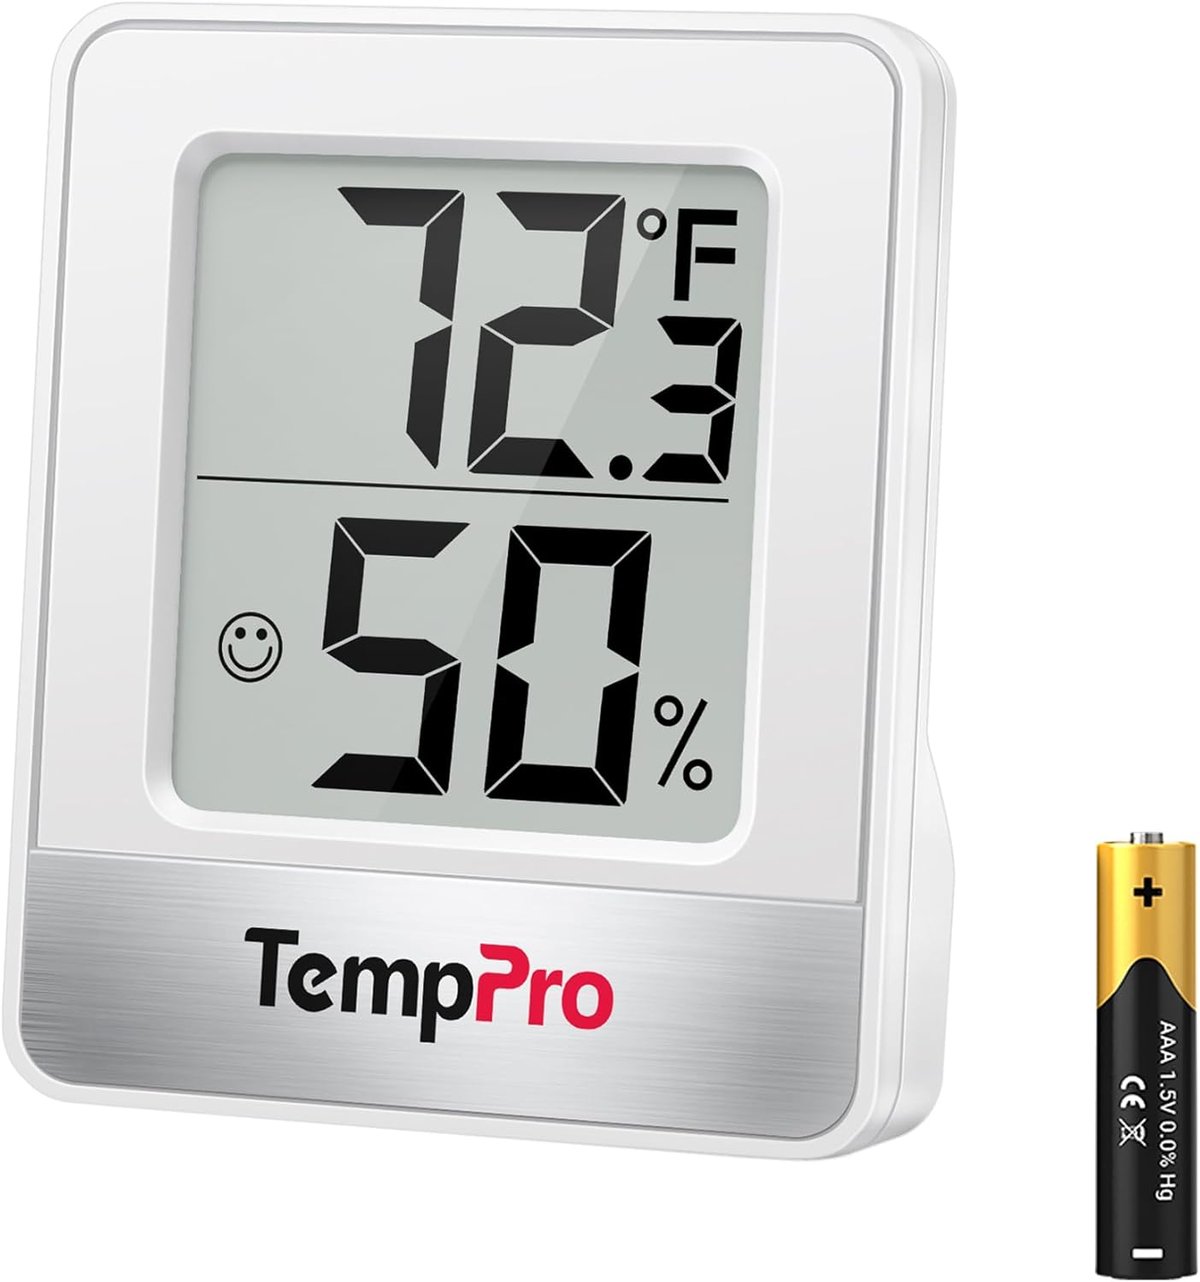
- Install or activate the battery — The TP49 typically ships with a CR2 or AAA cell (check the compartment on the back). Remove the insulating tab or insert the included battery, observing polarity markings.
- Allow acclimatisation — Place the unit in its intended location for at least 15–20 minutes before trusting the readings. Sensors need time to adjust to local conditions after coming out of a sealed box.
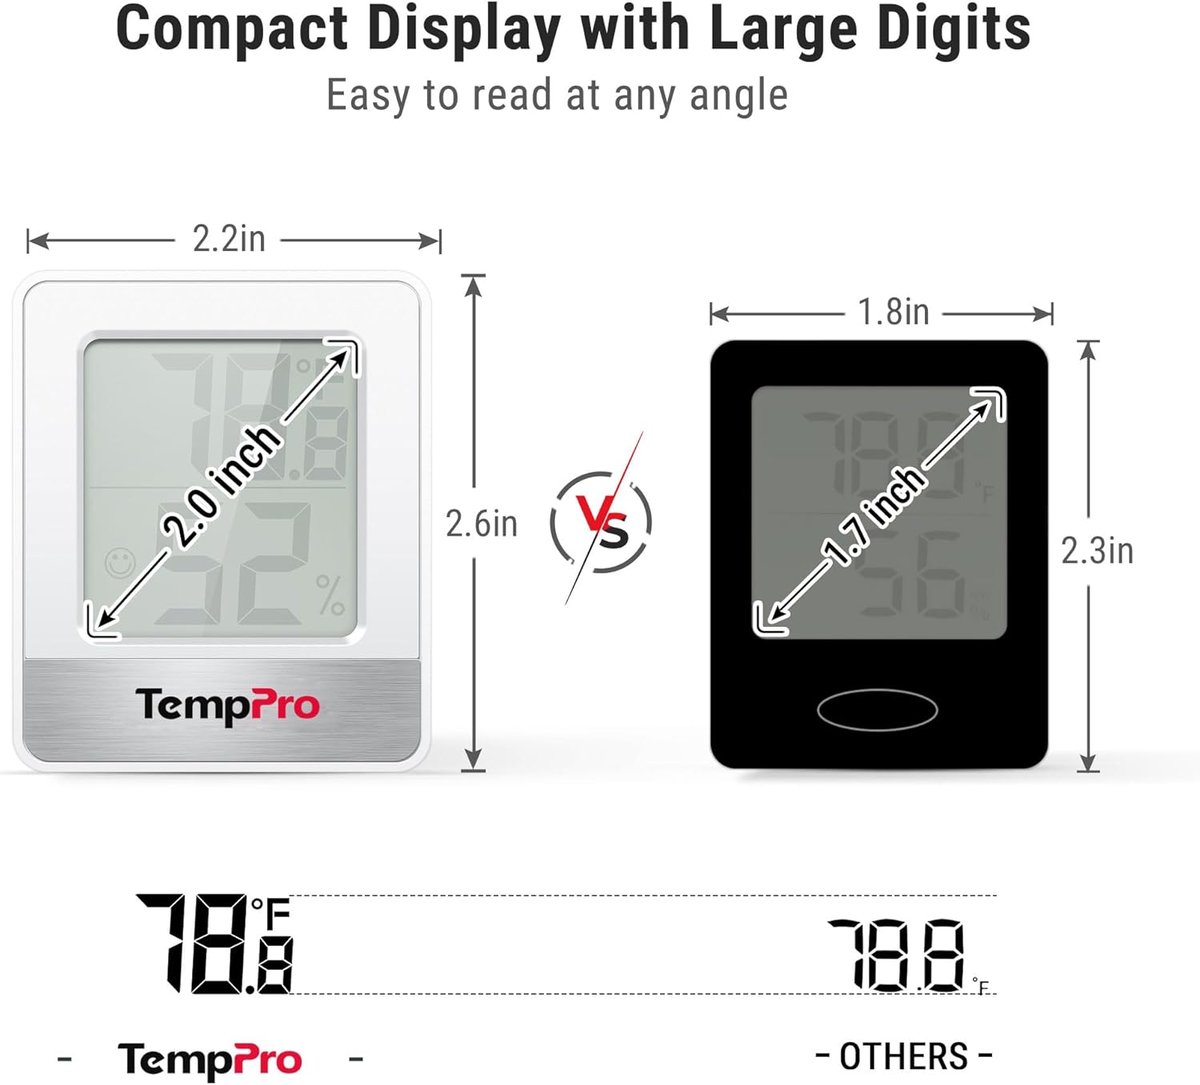
- Check display clarity — Confirm digits appear evenly. A dim or partial segment usually means the battery tab wasn't fully removed or the cell is flat.
First-time setup
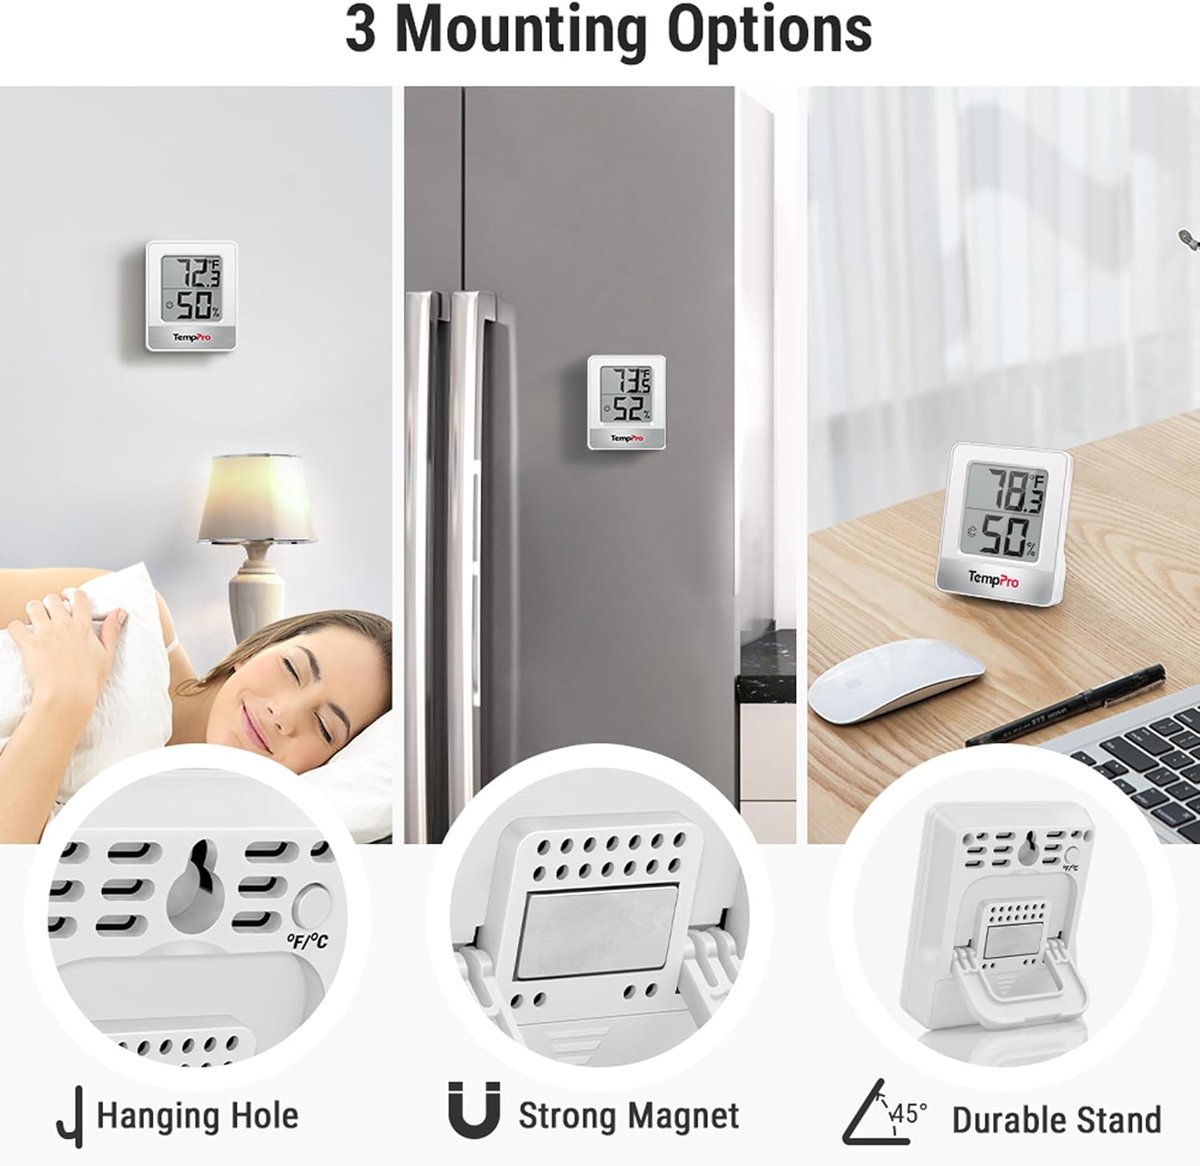
- Choose your mounting method. The TP49 usually offers a fold-out stand for bench or shelf use, a magnetic back for metal surfaces, and a wall-mount keyhole. Decide where you need visibility and stability — a workbench, fridge door, or shed wall all work.
- Position it away from direct heat or airflow. Keep it at least a metre from heaters, air-con vents, windows with direct sun, or refrigeration coils. You want it reading the ambient conditions of the room, not the exhaust from the compressor.
- Toggle Celsius or Fahrenheit (if available). Most models have a small button on the back. Australians typically want °C — press once or twice until the display shows the correct symbol.
- Note your baseline readings. Jot down the temperature and humidity so you can spot trends over the coming days. This is especially useful if you're troubleshooting mould or condensation issues in a shed or storeroom.
Daily-driver tips
- Use the comfort indicator. The TP49 displays a simple face icon or text indicating whether conditions are "dry," "comfort," or "wet." For most Australian conditions, you want humidity between 40–60% in enclosed spaces — anything above 70% sustained is a red flag for stored materials and tool corrosion.
- Check readings in the morning and late afternoon. Humidity swings through the day, especially in poorly ventilated sheds. Two quick glances help you spot patterns — maybe you need to crack a window or add a dehumidifier.
- Mount a second unit in a different zone. At around $12 each, it's cost-effective to put one in your main workspace and another in the storeroom. Comparing readings tells you where moisture is migrating.
- Use it when curing paint or adhesive. Many two-pack coatings and epoxies specify application ranges (typically 10–30°C, below 75% RH). A quick glance at the TP49 beats guessing and potentially wasting expensive product.
- Clean the sensor area occasionally. A wipe with a dry microfibre cloth around the vents keeps dust from clogging the humidity sensor and affecting accuracy.
Common pitfalls
- Placing it in direct sunlight. The display will fade and the temperature reading will spike unrealistically. A shaded position gives useful data; a sunny windowsill gives you frustration.
- Expecting laboratory precision. Consumer hygrometers are typically accurate to ±2–3°C and ±3–5% RH. That's fine for workshop monitoring but don't rely on it for calibration-critical processes without cross-checking against a traceable instrument.
- Forgetting the battery for months. If readings start drifting or the display dims, swap the cell. Budget for a replacement every 12–18 months under typical use.
- Ignoring high humidity warnings. In Australian coastal and tropical zones, sustained readings above 70% in enclosed spaces can accelerate rust on hand tools, degrade cardboard packaging, and promote mould on leather or fabric PPE. Act on the data — ventilate, dehumidify, or relocate sensitive gear.
Maintenance and longevity
The TP49 is about as low-maintenance as any gadget gets. Keep it dry, keep it dust-free, and replace the battery annually even if it's still working — lithium cells can leak when deeply discharged, and a corroded battery compartment usually means the whole unit is binned.
If you notice readings that seem way off — for example, showing 95% humidity on a dry winter day — try placing the unit in a different location for an hour to rule out localised moisture. Persistent inaccuracy usually means the sensor has degraded; at this price point, replacement is more practical than repair.
When to upgrade or replace
Consider a replacement when the display becomes hard to read, readings no longer correlate with obvious conditions (bone-dry shed reading 80%), or you need features the TP49 lacks — such as data logging, app connectivity, or min/max memory. For most tradies monitoring a shed, van, or small office, this unit does the job for a couple of years without complaint. If you're stepping up to environmental monitoring for compliance or insurance documentation, look at models with Bluetooth logging and exportable data — but for everyday awareness, the TP49 earns its keep many times over.