Stop Killing Plants: The Dead-Simple Way to Nail Watering
What this fixes for you
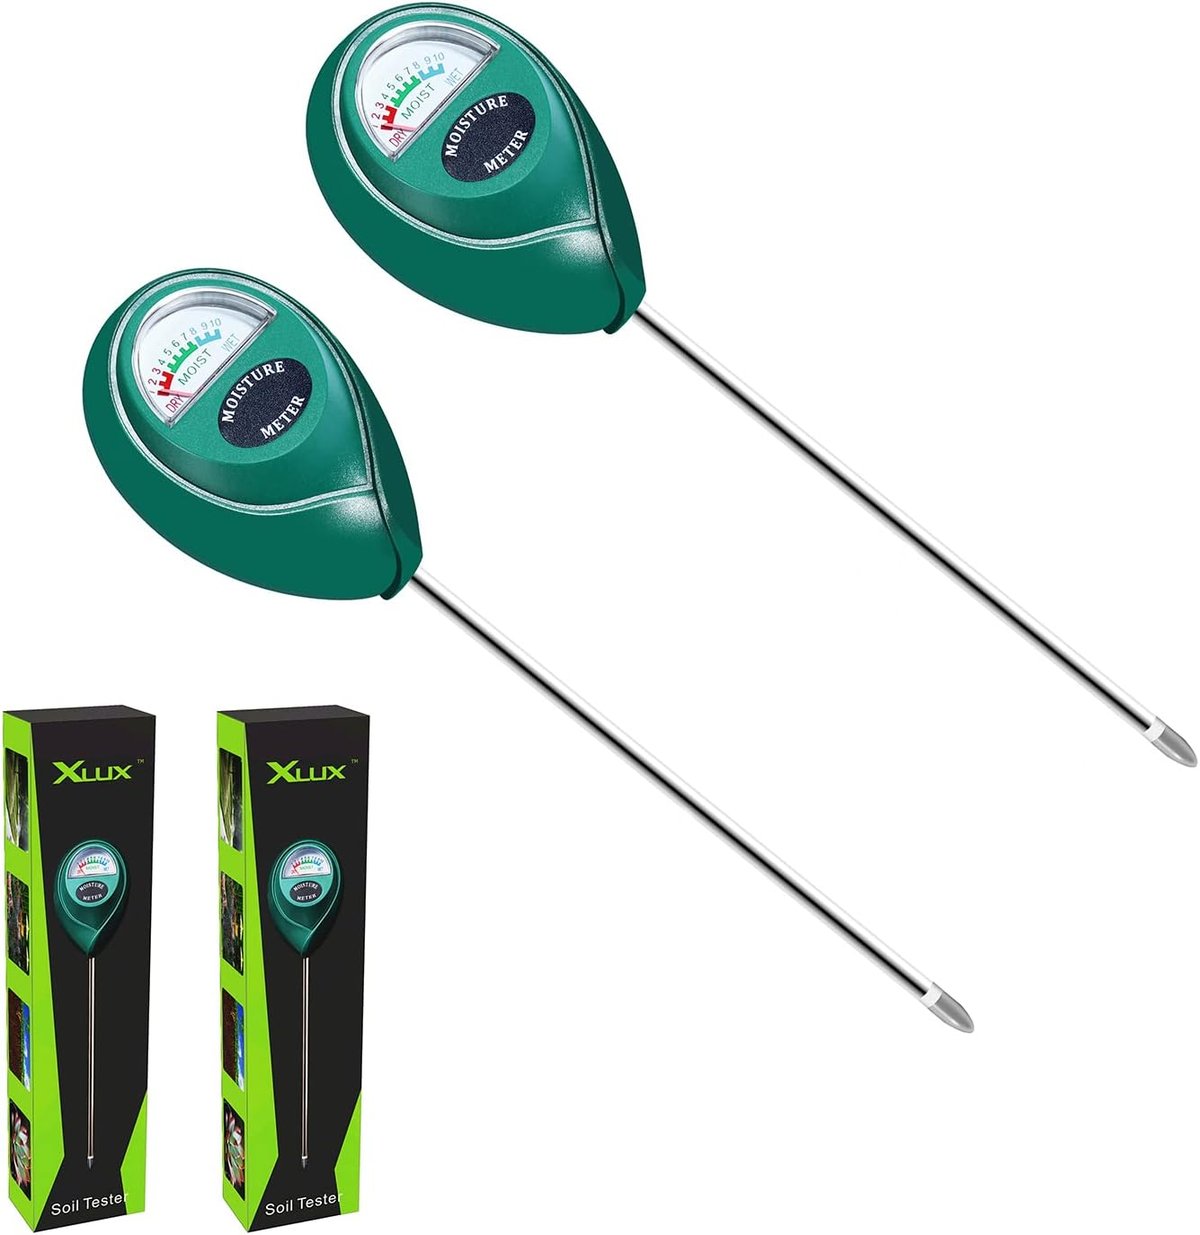
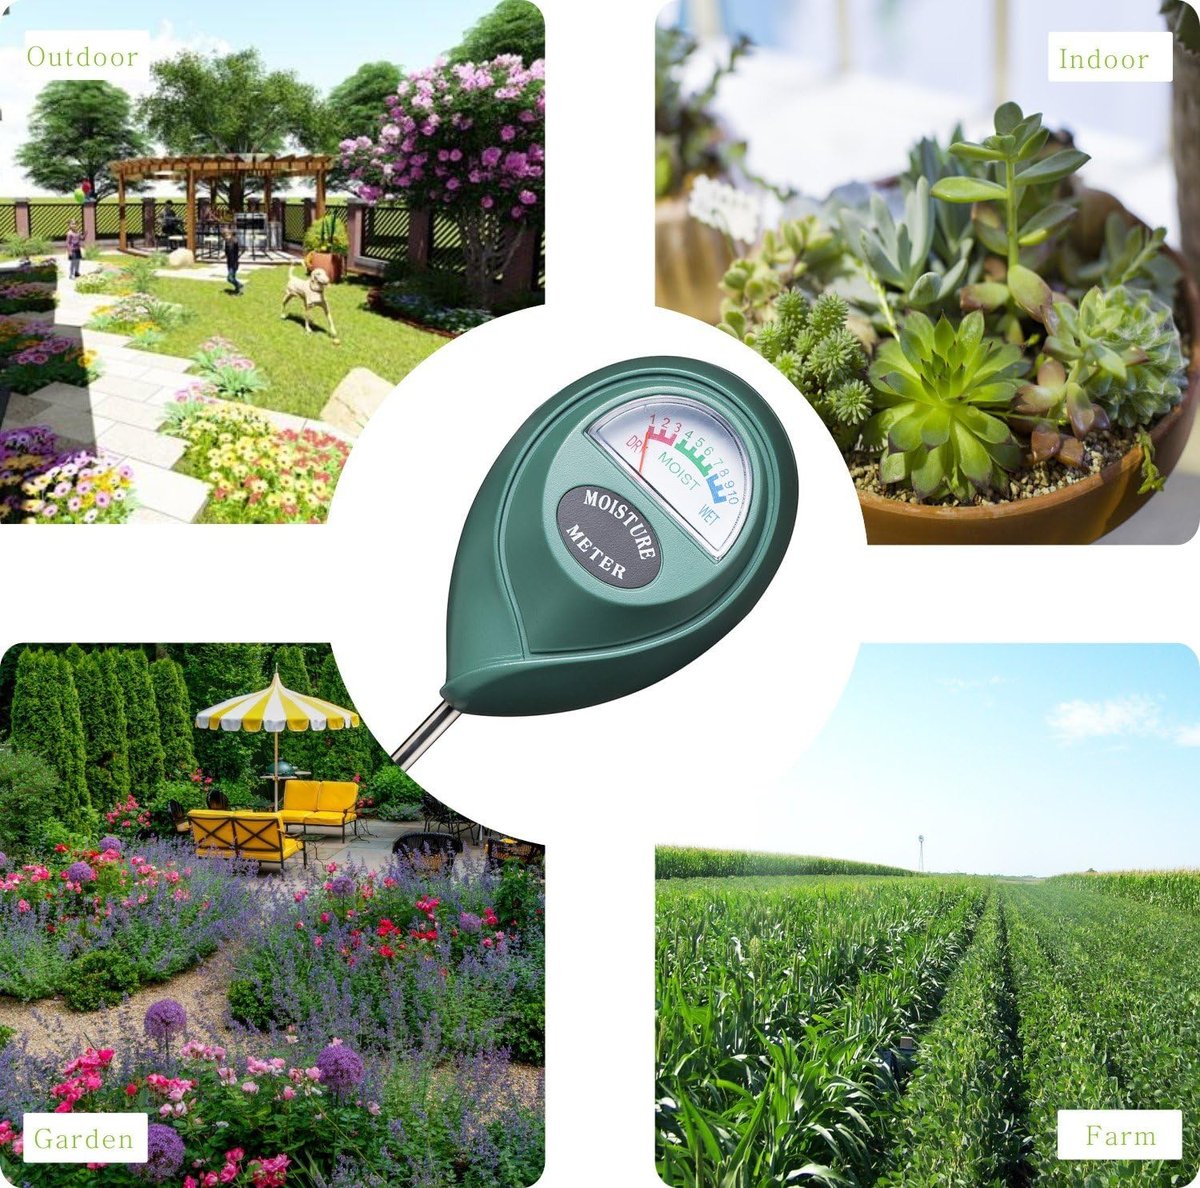
Overwatering kills more plants than drought ever will — and on a busy job site or around the house, it's easy to lose track of what's been watered and what hasn't. The XLUX Soil Moisture Sensor Meter takes the guesswork out of irrigation by giving you an instant reading of moisture levels below the surface. Whether you're a landscaper maintaining client gardens, a tradie keeping site greenery alive during a long build, or a small-business owner looking after office plants, this simple analogue tool tells you exactly when soil needs water — no batteries, no apps, no fuss.
Before first use
- Remove both sensors from packaging and inspect the probes for any shipping damage or bent tips.
- Wipe down the metal probes with a dry cloth to remove any manufacturing residue or dust.
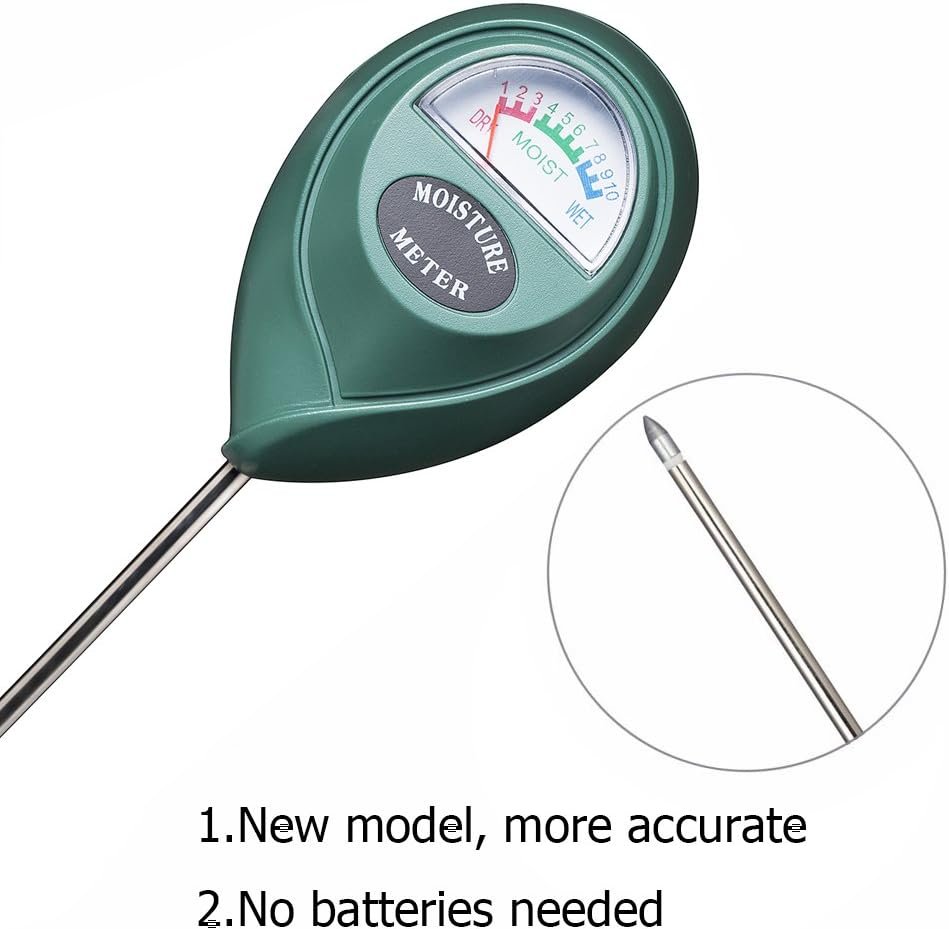
- Read the moisture scale on the dial face — typically ranges from DRY (1–3), MOIST (4–7), to WET (8–10).
- Understand that no batteries or calibration are required — the device generates a small electrical current from soil moisture itself.
- Keep the original packaging or note down the ideal moisture ranges for your specific plants (most common plants thrive in the 4–7 range).
First-time setup
- Select a test plant or garden bed that you know the watering status of — ideally something you watered yesterday versus something that's been dry for a week.
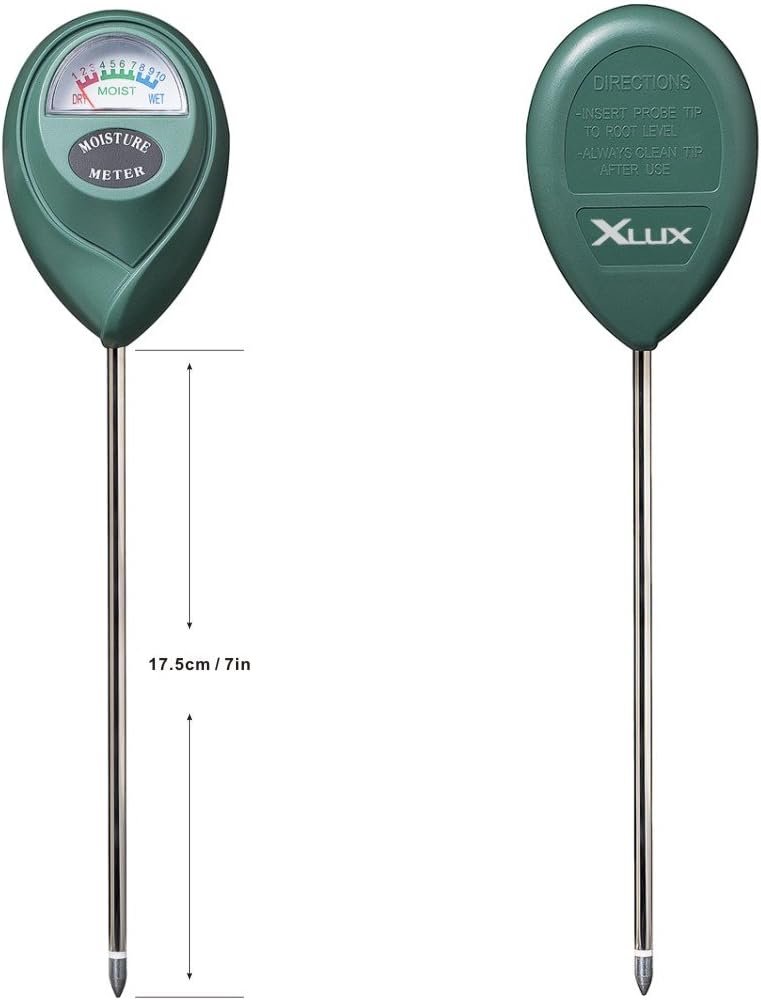
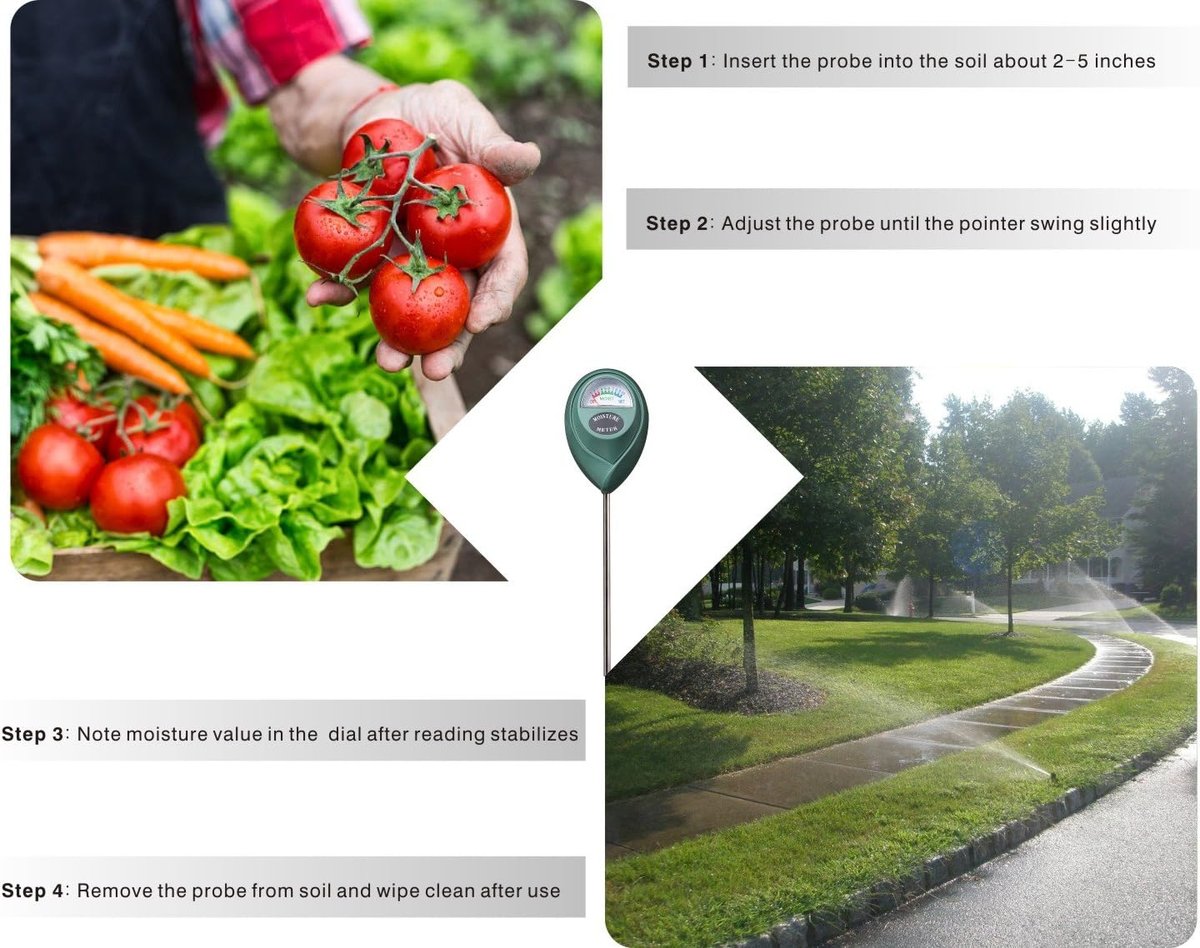
- Insert the probe vertically into the soil, pushing it down about 50–75mm (two-thirds of the probe length) near the plant's root zone — not right against the stem.
- Wait 30–60 seconds for the needle to stabilise. Analogue meters need a moment to register accurately.
- Note the reading and compare it to your plant's ideal moisture range. Most indoor plants and garden beds prefer readings between 4 and 7.
- Test in a second location within the same pot or bed to confirm consistency — soil moisture can vary across even small areas.
- Gently twist and pull the probe straight out when finished. Never yank it sideways.
Daily-driver tips
- Test at root depth, not surface level. The top 20mm of soil dries out fast and doesn't reflect what's happening where roots actually drink. Push the probe down properly for accurate readings.
- Check multiple spots in larger beds. Soil composition varies — clay holds water, sandy patches drain fast. Take two or three readings across a garden bed before deciding to water.
- Keep one meter in the ute, one at the office. Having a spare means you'll actually use it. At around $20 for the two-pack, there's no excuse not to have one handy.
- Clean the probe after every use. Soil left on the metal causes corrosion over time. A quick wipe with a rag keeps readings accurate longer.
- Use it to diagnose drainage problems. If a bed reads WET three days after rain, you've got a drainage issue that needs addressing — not more watering.
Common pitfalls
- Leaving the probe in soil permanently. These meters are designed for spot-checking, not continuous monitoring. Leaving them in the ground corrodes the probe and ruins accuracy within weeks.
- Testing in fertiliser-heavy soil immediately after feeding. High salt content from fresh fertiliser can give false high readings. Wait a few days after fertilising for accurate results.
- Forcing the probe into compacted or rocky soil. You'll bend or snap the tip. If the ground's too hard, water it lightly first or find a softer spot nearby.
- Expecting precision scientific readings. This is a $20 analogue tool — it tells you dry, moist, or wet. For commercial irrigation management, you'd need a proper tensiometer or capacitive sensor system.
Maintenance and longevity
After each use, wipe the metal probe clean with a dry cloth. If soil has dried onto the probe, use a damp cloth first, then dry it thoroughly. Store the meters somewhere dry — a toolbox drawer, shed shelf, or desk drawer works fine. Moisture in storage causes probe corrosion even when not in use.
Avoid storing near chemicals, solvents, or fertilisers. The analogue mechanism inside the gauge is simple but can be affected by corrosive fumes over time. With proper care, these meters typically last 2–3 years of regular use before probe degradation affects accuracy.
When to upgrade or replace
Replace your XLUX meter when the needle becomes sluggish, fails to return to zero when dry, or readings seem inconsistent between tests in the same soil. If you're scaling up — managing multiple commercial properties or running a landscaping business with irrigation scheduling requirements — consider upgrading to a digital soil moisture meter with data logging, or a Bluetooth-enabled sensor system that integrates with irrigation controllers. For most tradies maintaining job-site gardens or small-business owners keeping office plants alive, though, a fresh two-pack every couple of years keeps things simple and cost-effective.